Installation
This chapter describes how to install the VarFish core components and their requirements. The audience of this chapter are those who want to install VarFish on their own infrastructure.
Since v0.22.1 (about February 2021), the recommended way of installing VarFish is using Docker Compose. Docker Compose allows to describe the programs/services that are required to run VarFish as a site of Docker containers. Docker containers allow to the whole runtime environment of complex software packages in a transparent and efficient manner.
For the following, knowledge of Linux administration and exposure to Docker is required. Deeper knowledge to Docker and Docker Compose is of greater help in case of debugging. In the case that have problems, please open an issue in our Issue Tracker or send an email to cubi-helpdesk@bihealth.de. Please note that VarFish is academic software and we try to provide support on a best-effort.
You can find a quickstart-style manual in the varfish-docker-compose README.
Note that this will only perform installation of VarFish and related services with data (re)distributed by the VarFish authors. See Extra Services for installing extra services such as annotation with CADD scores.
Prerequisites
- Hardware:
Memory: 64 GB of RAM
CPU: 16 cores
- Disk: 600+ GB of free and fast disk space
about ~500 GB for initial database (on compression enabled ZFS it will consume only 167GB)
on installation: ~100 GB for data package file
per exome: ~200MB
a few (~5) GB for the Docker images
- Operating System:
a modern Linux that is supported by Docker.
outgoing HTTPS connections to the internet are allowed to download data and Docker images
server ports 80 and 443 are open and free on the host that run on this on
- Software:
Git
Tuning database servers is an art of its own and you can have a look at the section Performance Tuning for getting started.
Install with Docker Compose
This section assumes that you have installed the prerequisites Git, Docker and Docker Compose. So the following two commands should work.
$ git version
git version 1.8.3.1
$ docker-compose -version
docker-compose version 1.28.2, build 67630359
$ docker version
Client: Docker Engine - Community
 Version:           20.10.3
[...]
First, we will obtain a checkout of varfish-docker-compose.
This repository contains the docker-compose.yml and configuration files.
On execution, about ten Docker containers will be spun up, each running a part of the services that are required to run VarFish.
These include the Postgres database (that does the heavy lifting), Redis for caching, Jannovar for full functional effect annotation, Exomiser for variant priorisation, queue workers for performing database queries and similar tasks, and the VarFish web server itself.
But this will come later.
$ git clone https://github.com/bihealth/varfish-docker-compose.git
$ cd varfish-docker-compose
Next, download and extract the VarFish site data archive which contains everything you need to get started (the download is ~100GB of data).
This will create the volumes directory (500GB of data, ZFS compression yields us 167GB disk usage).
Replace grch37 with grch38 in the command below if you want to use the GRCh38 release.
We currently only provide prebuilt databases for either GRCh37 or GRCh38.
$ wget --no-check-certificate https://file-public.cubi.bihealth.org/transient/varfish/athenea/varfish-site-data-v1-20210728-grch37.tar.gz{,.sha256}
$ sha256sum --check varfish-site-data-v1-20210728-grch37.tar.gz.sha256
$ tar xf varfish-site-data-v1-20210728-grch37.tar.gz
$ ls volumes
exomiser  jannovar  minio  postgres  redis  traefik
The next step is to create an installation-specific configuration file .env as a copy of env.example.
You will have to at least set DJANGO_SECRET_KEY variable to something random (a bash one-liner for this is tr -dc A-Za-z0-9 </dev/urandom | head -c 64 ; echo ‘’).
$ cp env.example .env
$ $EDITOR .env
You can now bring up the site with Docker Compose.
The site will come up at your server and listen on ports 80 and 443 (make sure that the ports are open), you can access it at https://<your-host>/ in your web browser.
This will create a lot of output and will not return you to your shell.
You can stop the servers with Ctrl-C.
$ docker-compose up
You can also use let Docker Compose run the containers in the background:
$ docker-compose up -d
Starting compose_exomiser-rest-prioritiser_1 ... done
Starting compose_jannovar_1                  ... done
Starting compose_traefik_1                   ... done
Starting compose_varfish-web_1               ... done
Starting compose_postgres_1                  ... done
Starting compose_redis_1                     ... done
Starting compose_minio_1                     ... done
Starting compose_varfish-celeryd-query_1     ... done
Starting compose_varfish-celeryd-default_1   ... done
Starting compose_varfish-celeryd-import_1    ... done
Starting compose_varfish-celerybeat_1        ... done
You can check that everything is running (the versions might be different in your installation):
$ docker ps
3ec78fb9f12c   bihealth/varfish-server:0.22.1-0                            "docker-entrypoint.s…"   17 hours ago   Up 31 seconds   8080/tcp                                   compose_varfish-celeryd-import_1
313afb611ab1   bihealth/varfish-server:0.22.1-0                            "docker-entrypoint.s…"   17 hours ago   Up 30 seconds   8080/tcp                                   compose_varfish-celerybeat_1
4d865726e83b   bihealth/varfish-server:0.22.1-0                            "docker-entrypoint.s…"   17 hours ago   Up 31 seconds   8080/tcp                                   compose_varfish-celeryd-query_1
a5f90232c4da   bihealth/varfish-server:0.22.1-0                            "docker-entrypoint.s…"   17 hours ago   Up 31 seconds   8080/tcp                                   compose_varfish-celeryd-default_1
96cec7caebe4   bihealth/varfish-server:0.22.1-0                            "docker-entrypoint.s…"   17 hours ago   Up 33 seconds   8080/tcp                                   compose_varfish-web_1
8d1f310c9b48   postgres:12                                                 "docker-entrypoint.s…"   17 hours ago   Up 32 seconds   5432/tcp                                   compose_postgres_1
8f12e16e20cd   minio/minio                                                 "/usr/bin/docker-ent…"   17 hours ago   Up 32 seconds   9000/tcp                                   compose_minio_1
03e877ac11db   quay.io/biocontainers/jannovar-cli:0.33--0                  "jannovar -Xmx6G -Xm…"   17 hours ago   Up 33 seconds                                              compose_jannovar_1
6af09b819e59   traefik:v2.3.1                                              "/entrypoint.sh --pr…"   17 hours ago   Up 33 seconds   0.0.0.0:80->80/tcp, 0.0.0.0:443->443/tcp   compose_traefik_1
514cb4386224   redis:6                                                     "docker-entrypoint.s…"   19 hours ago   Up 32 seconds   6379/tcp                                   compose_redis_1
5678b9e6797b   quay.io/biocontainers/exomiser-rest-prioritiser:12.1.0--1   "exomiser-rest-prior…"   19 hours ago   Up 34 seconds                                              compose_exomiser-rest-prioritiser_1
In the case of any error please report it to us via the Issue Tracker or email to cubi-helpdesk@bihealth.de. Please include the full output as a text file attachment.
Actually, your VarFish website is now ready to be used. Visit the website at https://<your-host>/ and login with the account root and password changeme.
There will be a warning about self-signed certificates, see TLS / SSL Configuration on how to deal with this. You can change it in the Django Admin (available from the menu with the little user icon on the top right). You can also use the Django Administration interface to create new user records.
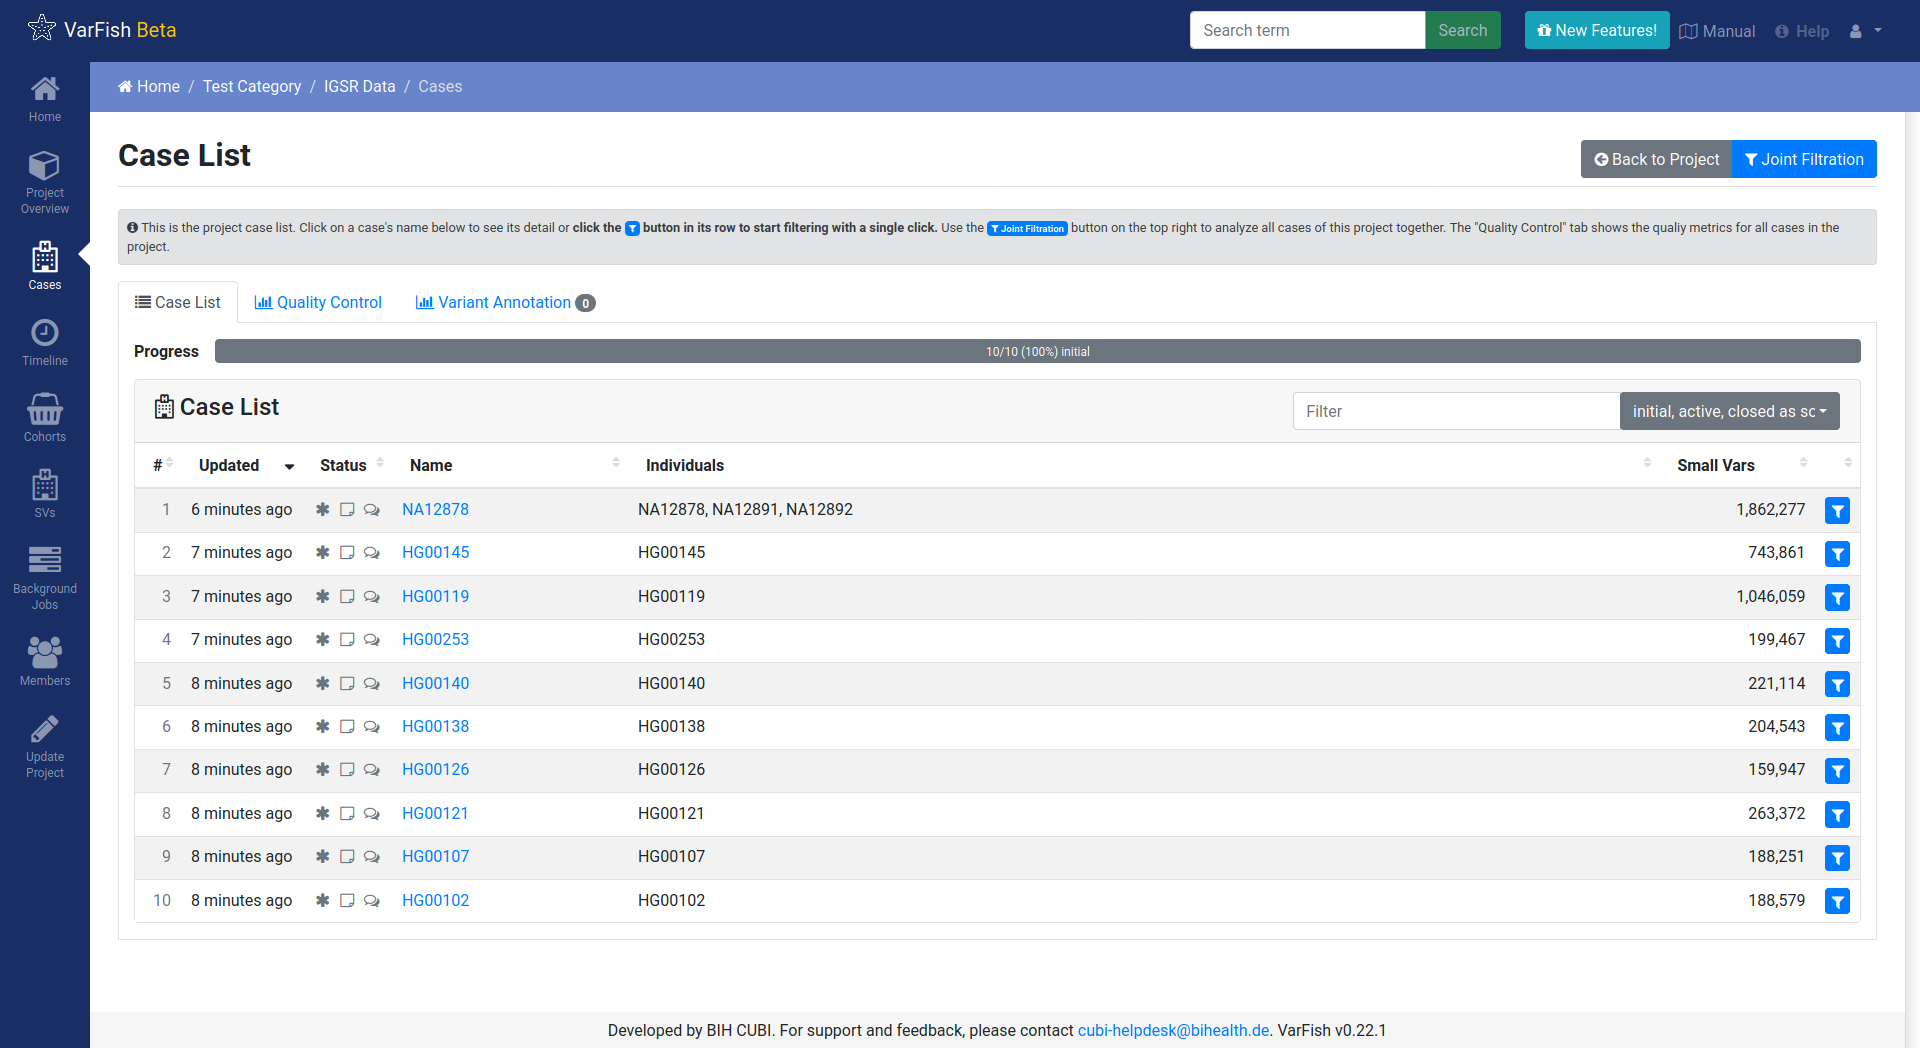
You will observe that the database came with some demo data sets of public IGSR data that are ready for exploration.
Updating the Database
First, the tables that are to be updated should be generated. For this, follow the instructions in the VarFish DB Downloader repository.
At this point you should have a folder structure available that resembles:
varfish-db-downloader/
    GRCh37/
        <table_group>/
            <version>/
                <table>.tsv
                <table>.release_info
    GRCh37/
        [...]
    noref/
        [...]
    import_versions.tsv
    [...]
If the HPO and OMIM tables are supposed to be updated, it would look like this:
varfish-db-downloader/
    noref/
        hpo/
            20220126/
                Hpo.release_info
                Hpo.tsv
                HpoName.release_info
                HpoName.tsv
        mim2gene/
            20220126/
                Mim2geneMedgen.release_info
                Mim2geneMedgen.tsv
    import_versions.tsv
    [...]
Copy this structure on to the machine where the Docker compose is running. Take Docker compose down (this will shut down your VarFish instance!):
$ cd varfish-docker-compose  # make sure to be in the docker compose folder
$ docker-compose down
Modify the docker-compose.yml file by finding the following entry:
varfish-web:
  image: ghcr.io/bihealth/varfish-server:VERSION
  env_file:
    - .env
  networks:
    - varfish
  restart: unless-stopped
  volumes:
    - "/root/varfish-server-background-db-20210728:/data:ro"
  [...]
And add another volume that maps your directory into the container:
volumes:
  - "/root/varfish-server-background-db-20210728:/data:ro"
  - type: bind
    source: varfish-db-downloader/
    target: /data-db-downloader
    read_only: true
Start docker compose again:
$ docker-compose up
Once done, attach to your container:
$ docker exec -it varfish-docker-compose_varfish-web_1 bash -i
Switch to the application directory and start the import:
varfish-web-container$ cd /usr/src/app
varfish-web-container$ python manage.py import_tables --tables-path /data-db-downloader
The output of the command should look something like this:
Disabling autovacuum on all tables...
Hpo -- Importing Hpo 2022/01/26 (, source: /data-db-downloader/noref/hpo/20220126/Hpo.tsv) ...
Mim2geneMedgen -- Importing Mim2geneMedgen 2022/01/26 (, source: /data-db-downloader/noref/mim2gene/20220126/Mim2geneMedgen.tsv) ...
Hpo -- Removing old Hpo results.
Mim2geneMedgen -- Removing old Mim2geneMedgen results.
Mim2geneMedgen -- Importing new Mim2geneMedgen data
Hpo -- Importing new Hpo data
Mim2geneMedgen -- Finished importing Mim2geneMedgen 2022/01/26 (Mim2geneMedgen.tsv)
Hpo -- Finished importing Hpo 2022/01/26 (Hpo.tsv)
HpoName -- Importing HpoName 2022/01/26 (, source: /data-db-downloader/noref/hpo/20220126/HpoName.tsv) ...
HpoName -- Removing old HpoName results.
HpoName -- Importing new HpoName data
HpoName -- Finished importing HpoName 2022/01/26 (HpoName.tsv)
Enabling autovacuum on all tables...
To verify the import, switch to the VarFish web interface, find the users menu
on the top right corner and select the Import Release Info entry. The
updated tables should have the latest version.
